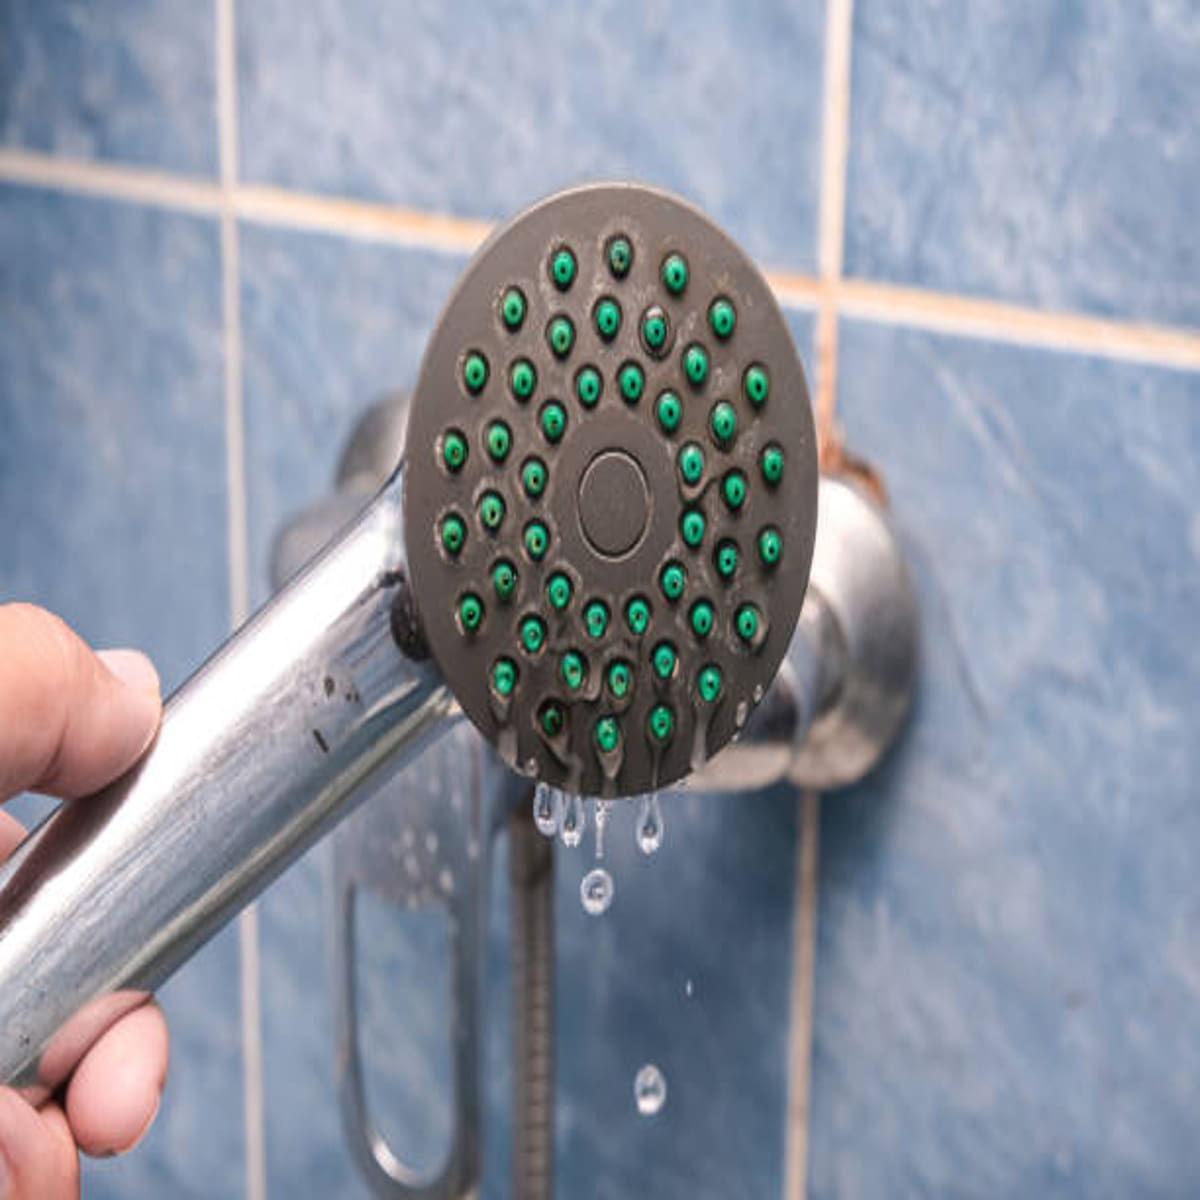
How to repair a dripping shower head is a relatively simple task that can be done with basic tools and a little know-how. A dripping shower head is not just an annoyance; it can also lead to water wastage and higher utility bills.
In this article, we will walk you through the steps of diagnosing and fixing a dripping shower head, saving you time, money, and frustration.
How To Repair A Dripping Shower Head
Why Your Shower Head Is Dripping?
Before diving into the repair process, it’s important to understand why your shower head is dripping. The most common causes of a dripping shower head include worn-out washers, mineral deposits, or a faulty cartridge.
Identifying the root cause will guide your repair efforts and ensure a long-lasting fix.
2 Main Causes of a Leaky Shower Head
1. Dripping Shower Head with the Water Off
If you are having this problem, it is not related to the shower head. In actuality, the malfunctioning shower cartridge inside your shower valve is the source of your issue.
The shower cartridge, which is housed inside the shower handle, regulates the temperature, pressure, and water volume. Water may leak out of your shower head or tub spout when you’re not using the shower when a defective cartridge allows water to get past its seal when the valve is closed.
You will need to turn off your home’s water supply in order to perform this kind of repair on the rough plumbing.
Even if you can fix the valve yourself, if you’re not comfortable with more complicated plumbing jobs, it’s usually best to engage a licenced plumber.
2. Dripping Shower Head With Water Turned On
If this is occurring, there may be a problem with a connection in your shower head. There may be multiple places where your shower head leaks, depending on the type you have.
Thankfully, they are usually simple, inexpensive modifications that you can perform on your own.
How To Repair A Dripping Shower Head
Tools and Materials You’ll Need
Gather the following tools and materials before starting the repair:
- Adjustable wrench
- Screwdriver
- Replacement washers or cartridge (if needed)
- Teflon tape
- Clean cloth
- Vinegar or lime scale remover (if dealing with mineral deposits)
How To Repair A Dripping Shower Head
- Turn Off Water Supply
Start by turning off the water supply to the shower. You can usually do this by locating the shut-off valve near the shower or by turning off the main water supply for your home.
- Disassemble the Shower Head
Using your adjustable wrench and screwdriver, carefully remove the shower head from the pipe. Place a cloth over the shower head to protect its finish while you work.
- Inspect and Clean
Once the shower head is removed, inspect the components for any visible damage or mineral buildup. If you notice mineral deposits, soak the parts in vinegar or a lime scale remover to dissolve the buildup.
- Replace Washers or Cartridge
If the washers or cartridge are worn or damaged, replace them with new ones. Apply a thin layer of Teflon tape to the threads of the shower head before reassembling to prevent leaks.
- Reassemble and Test
Carefully reassemble the shower head, ensuring all components are properly aligned and tightened. Turn the water supply back on and test the shower to check for leaks.
Make any necessary adjustments until the dripping stops.
How To Repair A Dripping Shower Head : Final Thoughts
Repairing a dripping shower head is a DIY task that anyone can tackle with the right tools and knowledge. By following this step-by-step guide, you can save money on plumber fees and enjoy a leak-free shower experience.
Remember to perform regular maintenance to prevent future issues and prolong the life of your shower head. Say goodbye to wasted water and hello to a fully functional shower!


One Comment