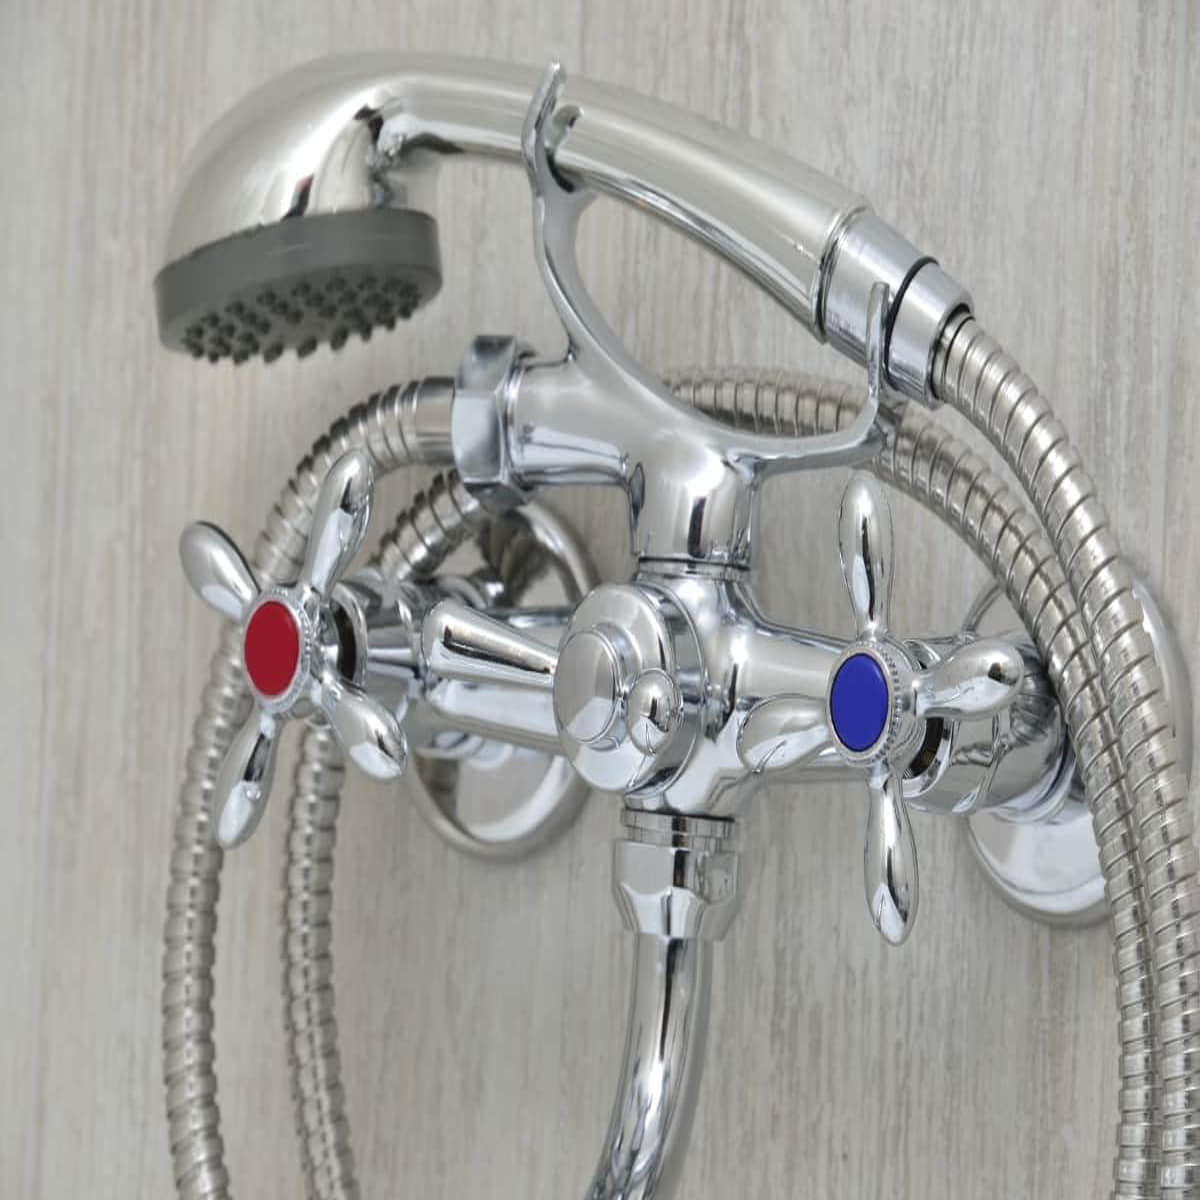
Failure to fix leak on shower faucet can lead to water waste and potential damage to your bathroom.
In this post, we’ll walk you through the steps to diagnose and fix a leak on a shower faucet.
Whether you’re dealing with a dripping faucet or a more severe leak, understanding the underlying causes and following the correct repair procedures can save you time and money.
How To Fix Leak On Shower Faucet?
Common Causes of Shower Faucet Leaks
Before jumping into the repair process of how to fix leak on shower faucet, it’s essential to understand the common causes of shower faucet leaks.
These can include worn-out washers, damaged O-rings, loose connections, or mineral buildup.
Identifying the specific issue will help you determine the best approach for fixing the leak.
Tools And Materials You’ll Need
Gathering the necessary tools and materials before starting the repair is crucial for a smooth and successful process. You’ll typically need:
Screwdrivers (flathead and Phillips),
Replacement washers or O-rings,
A cartridge puller for more complex repairs,
Having these items on hand will ensure you can address the leak effectively.
How To Fix Leak On Shower Faucet?
Steps of How to Fix Leak on a Shower Faucet
- Shut Off the Water Supply
The first step in any plumbing repair is to turn off the water supply to the affected fixture.
Locate the shut-off valves for hot and cold water leading to the shower faucet and turn them clockwise to close them.
This will prevent water from flowing while you work on the faucet.
- Remove the Faucet Handle
Using a screwdriver, carefully remove the screw that holds the faucet handle in place.
Once the screw is removed, gently pull the handle away from the wall to expose the inner components of the faucet.
- Inspect and Replace Washers or O-Rings
Inspect the washers and O-rings inside the faucet for signs of wear or damage.
These components are often the culprits behind leaks.
If you notice any deterioration or cracks, replace them with new ones of the same size and type.
Apply plumber’s tape to ensure a secure seal.
- Check for Loose Connections
While the faucet handle is removed, check for any loose connections or fittings.
Tighten them using an adjustable wrench to ensure they are secure and free from leaks.
- Reassemble the Faucet
Once you’ve completed the necessary repairs and replacements, reassemble the faucet by reversing the disassembly steps.
Make sure the handle is securely attached, and all connections are tightened.
Testing and Verifying the Repair
After reassembling the faucet, turn the water supply back on and test the faucet for leaks.
Run both hot and cold water to check for any signs of dripping or water escape.
If the leak persists, reevaluate the components and connections to ensure everything is properly sealed and secured.
How To Fix Leak On Shower Faucet? : Conclusion
Fixing a leak on a shower faucet is a manageable task with the right tools and knowledge.
By understanding the common causes of leaks, gathering the necessary materials, and following a step-by-step repair guide, you can resolve the issue and prevent water waste and damage to your bathroom.
Remember to turn off the water supply before beginning any repairs and test the faucet thoroughly after completing the fix.
With these tips, you can tackle shower faucet leaks like a pro and enjoy a leak-free bathing experience.
FAQs
How To Fix A Leaky Shower Faucet With Two Handles?
To fix a leaky shower faucet with two handles, start by turning off the water supply to the shower.
Use a flathead screwdriver to remove the handles and expose the valve stems.
Inspect the stems and washers for any signs of wear or damage, and replace them if necessary.
Use plumber’s grease to lubricate the new washers and stems before reassembling the faucet.
Turn the water supply back on and test the faucet for leaks.
Adjust the handles to ensure they are tight and functioning properly.
If the leak persists, consider replacing the entire faucet assembly for a more permanent solution.
How To Fix One Handle Faucet?
To fix a one-handle faucet that is leaking, start by turning off the water supply to the faucet.
Use a wrench to carefully remove the handle and expose the cartridge or ball assembly inside.
Inspect the cartridge or ball for any damage, such as cracks or wear, and replace it if necessary.
Clean the inside of the faucet with a brush to remove any debris or buildup that may be causing the leak.
Apply plumber’s grease to the new cartridge or ball before reassembling the faucet.
Turn the water supply back on and test the faucet for leaks, adjusting the handle to ensure proper function.
If the leak persists, consider consulting a plumber or replacing the entire faucet for a more permanent solution.


2 Comments