Knowing how to Install a dishwasher door seal is crucial in ensuring your dishwasher operates efficiently and effectively. A properly installed door seal prevents leaks, maintains optimal water pressure, and contributes to the overall longevity of your dishwasher.
In this article, we’ll walk you through the steps of installing a dishwasher door seal, covering everything from preparation to troubleshooting common issues.
How To Install A Dishwasher Door Seal
Understanding the Dishwasher Door Seal
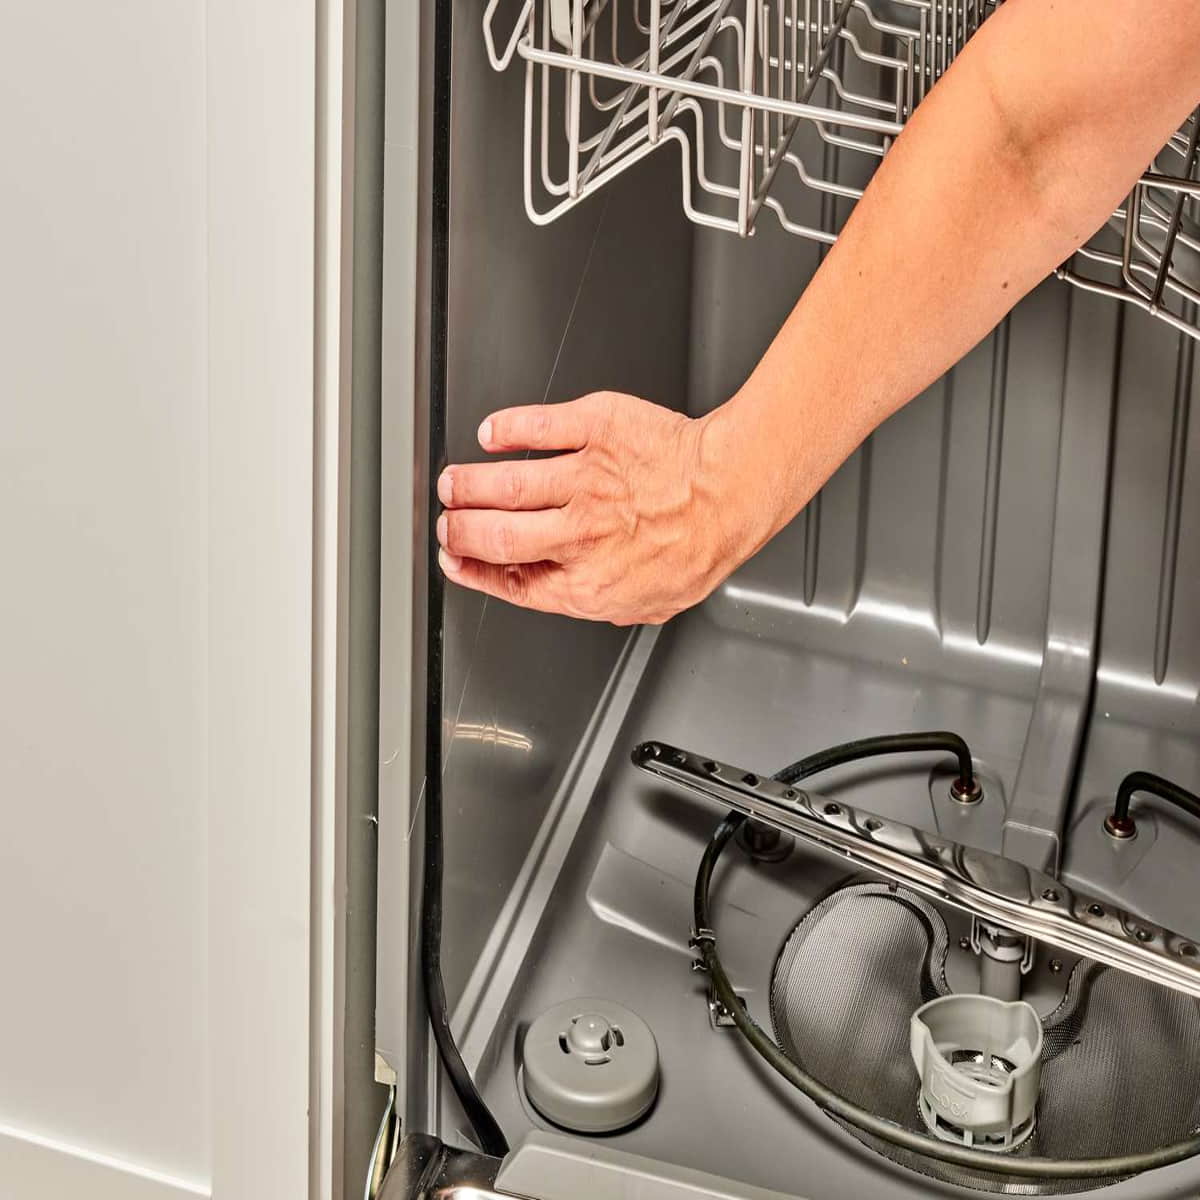
Before I explain how to install a dishwasher door seal, it’s essential to understand the role of the dishwasher door seal. This rubber gasket creates a watertight seal between the dishwasher door and the tub, preventing water from leaking out during the wash cycle.
Over time, door seals can wear out or become damaged, necessitating replacement to maintain peak performance.
Preparing for Installation
- Gather Your Materials: Before starting, gather the necessary materials, including a replacement door seal compatible with your dishwasher model, a screwdriver, and possibly a lubricant recommended by the manufacturer.
- Safety First: Ensure the dishwasher is powered off and disconnected from the electrical supply to avoid any accidents during the installation process.
- Clean the Area: Thoroughly clean the edges of the dishwasher door and tub where the door seal will be installed. Remove any debris or residue that may hinder the seal’s effectiveness.
How To Install A Dishwasher Door Seal
Follow these steps to install a new dishwasher door seal:
- Remove the Old Seal
Begin by carefully removing the old door seal. Use a screwdriver to loosen any screws or clips securing the seal in place. Gently pull the old seal away from the door and tub, taking care not to damage the surrounding components.
- Prepare the New Seal
Inspect the new door seal to ensure it matches the dimensions and design of the old one. If necessary, trim any excess length to fit perfectly. Apply a small amount of lubricant, if recommended, to the seal to ease installation.
- Install the New Seal
Starting at one corner, press the new door seal firmly into the groove between the dishwasher door and tub. Work your way around the entire perimeter, ensuring the seal is snugly fitted and free of twists or kinks. Double-check that the seal sits flush and evenly along the edge.
- Secure the Seal
If your dishwasher’s design includes screws or clips to secure the door seal, reattach them carefully. Ensure they are tightened sufficiently to hold the seal in place but avoid over-tightening, which could damage the seal or surrounding components.
How To Install A Dishwasher Door Seal : Testing and Troubleshooting
After installing the new door seal, it’s crucial to test the dishwasher for leaks and proper functionality. Run a short cycle with no dishes to check for any water seepage around the door.
If you encounter leaks or issues with the seal, double-check the installation steps and consult the dishwasher manual for troubleshooting guidance.
How To Install A Dishwasher Door Seal : Wrapping It Up
Installing a dishwasher door seal is a manageable task that can significantly improve your dishwasher’s performance and lifespan. By following the steps outlined in this guide and paying attention to details, you can ensure a secure and effective seal, preventing leaks and maintaining optimal operation.
Remember to periodically inspect and replace the door seal as needed to keep your dishwasher running smoothly for years to come.
In conclusion, learning how to install a dishwasher door seal empowers you to take proactive maintenance steps and preserve your appliance’s functionality. With the right tools, knowledge, and attention to detail, you can tackle this task confidently and enjoy the benefits of a properly sealed dishwasher.


One Comment