In this article, we will explore the steps involved to install gable end vents, ensuring that your attic remains properly ventilated and free from issues such as mold, moisture damage, and excessive heat buildup.
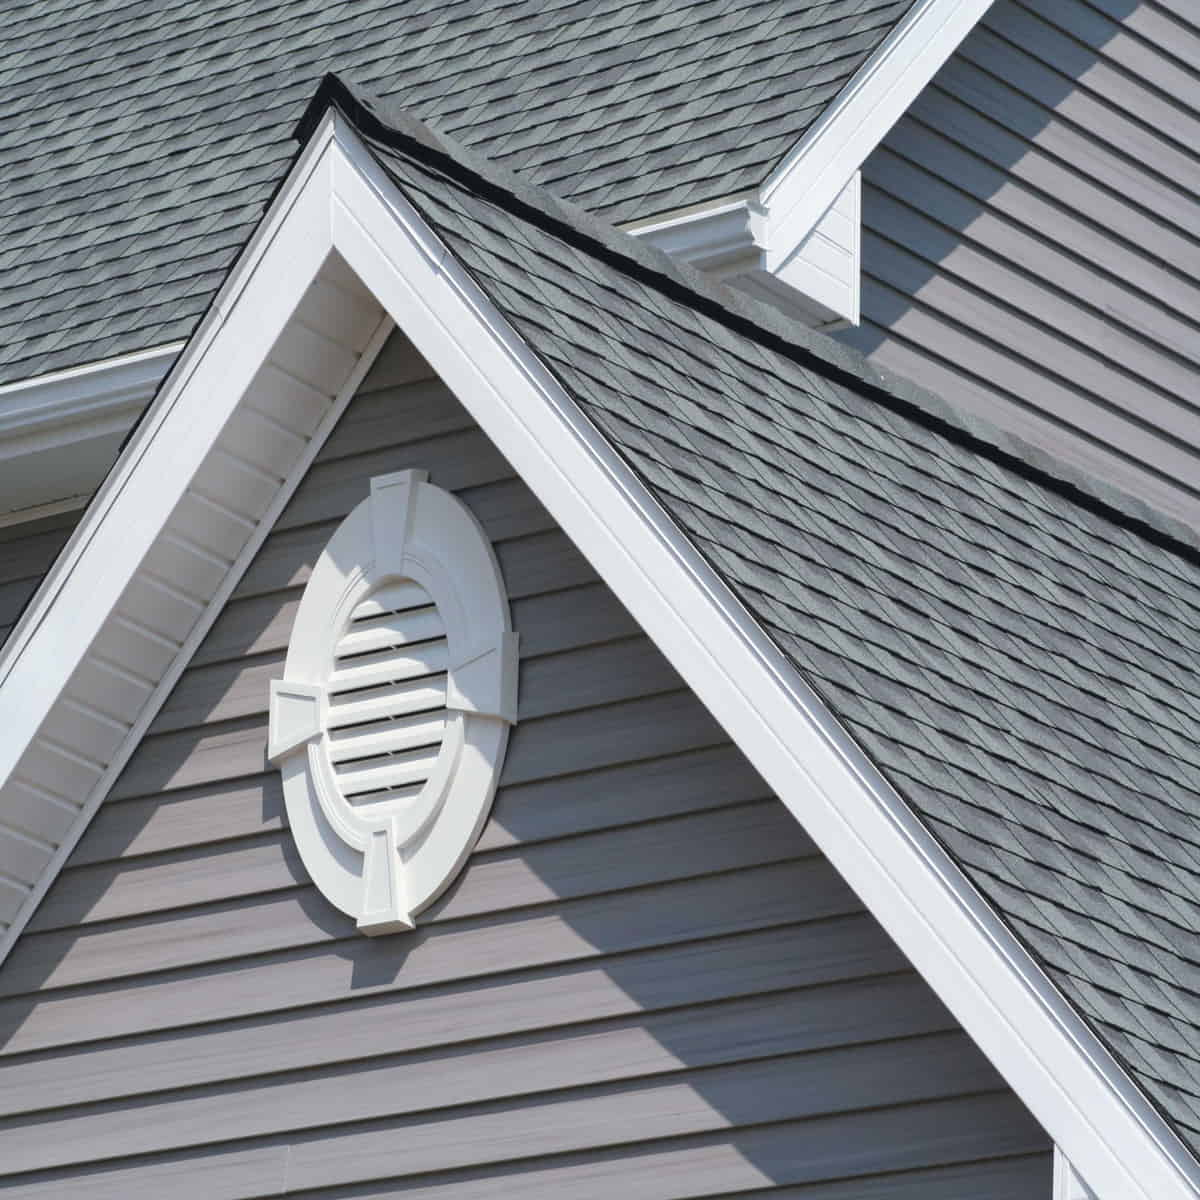
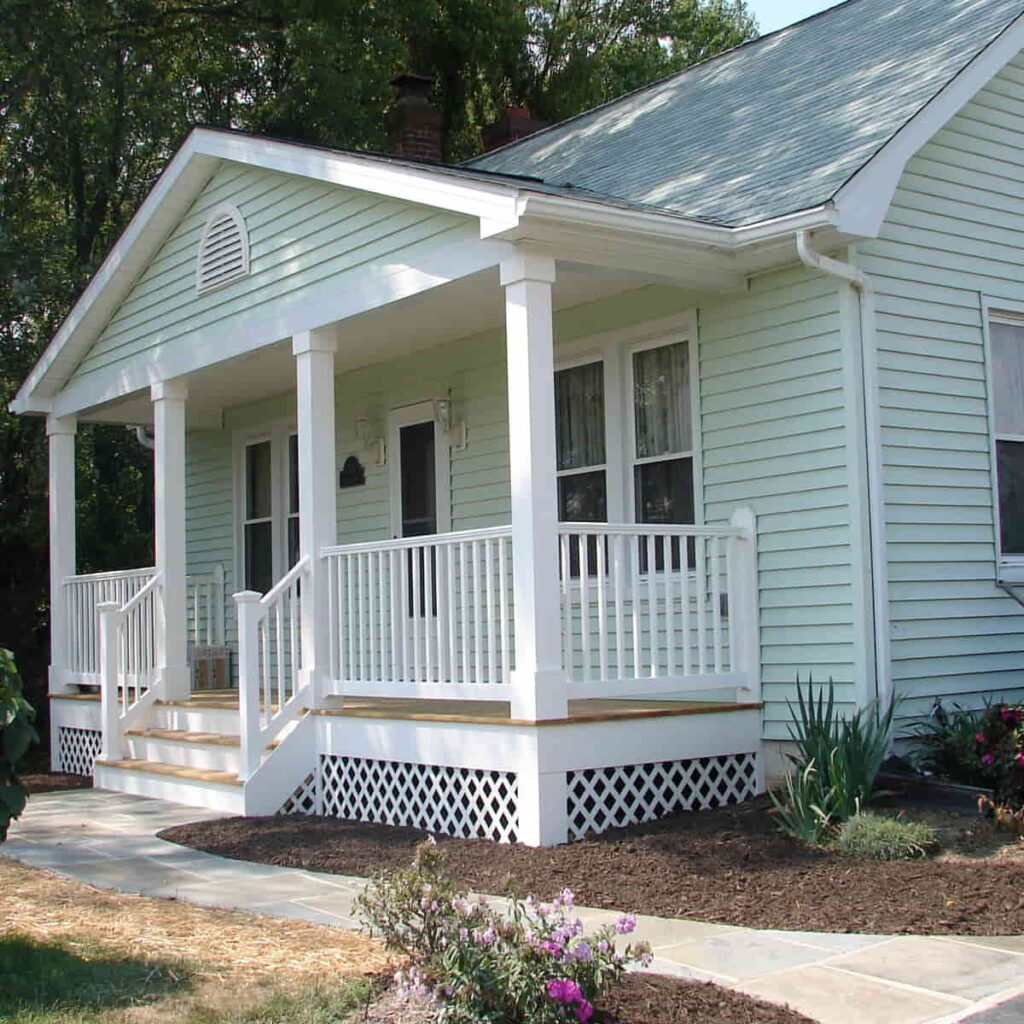
Gable end vents are crucial components of a well-ventilated attic space. They play a significant role in regulating temperature, moisture levels, and air circulation within the attic, ultimately contributing to the overall health of your home.
How To Install Gable End Vents
Importance of Gable End Vents
Before jumping into the installation process, it’s essential to understand why gable end vents are necessary. Gable end vents facilitate the exchange of air between the attic and the exterior environment.
During hot weather, they allow hot air to escape from the attic, preventing heat buildup that can lead to structural damage and increased cooling costs.
In colder climates, gable end vents help to prevent moisture buildup by promoting air circulation, which reduces the risk of mold and mildew growth.
Assessing Your Attic’s Ventilation Needs
The first step in installing gable end vents is to assess your attic’s ventilation requirements. Factors to consider include the size of your attic space, the existing ventilation system (if any), and the climate conditions in your area.
It’s essential to calculate the recommended ventilation area based on the attic’s square footage to determine the number and size of gable end vents needed.
Gathering the Necessary Tools and Materials
Before starting the installation process, gather the following tools and materials:
- Gable end vents (appropriate size and quantity based on your attic’s needs)
- Power drill
- Screws or nails
- Caulk gun and weatherproof sealant
- Ladder or scaffolding (if working at heights)
- Safety goggles and gloves
- Measuring tape
- Marking pencil or chalk
How To Install Gable End Vents
- Determine Vent Placement
Using your measuring tape and marking pencil, identify the optimal placement for your gable end vents. Ideally, they should be installed near the peak of the gable end to maximize airflow. Mark the locations where the vents will be installed.
- Prepare the Vent Openings
Using a power drill, create pilot holes at the marked locations for the gable end vents. Make sure the holes are large enough to accommodate the vents’ mounting screws or nails.
- Install the Gable End Vents
Position the gable end vents over the prepared openings and secure them in place using screws or nails. Ensure that the vents are flush with the exterior surface of the gable end to prevent water infiltration.
- Seal the Edges
Apply a bead of weatherproof sealant around the edges of the gable end vents to create a watertight seal. This step is crucial for preventing leaks and ensuring the vents function effectively.
- Test the Ventilation System
Once the gable end vents are installed and sealed, test the ventilation system by observing airflow patterns and checking for any signs of leaks or gaps. Make adjustments as needed to optimize ventilation performance.
How To Install Gable End Vents : Final Thoughts
Proper attic ventilation is essential for maintaining a healthy and energy-efficient home. By following the steps outlined in this guide, you can confidently install gable end vents to improve air circulation, prevent moisture damage, and enhance overall comfort within your living space.
Remember to assess your attic’s ventilation needs, gather the necessary tools and materials, and follow best practices for installation to ensure long-lasting performance from your gable end vents.


One Comment