When it comes to home electrical work, knowing how to wire a ceiling light with a switch is a valuable skill.
Whether you’re replacing an old fixture or installing a new one, understanding the process ensures safety and functionality.
In this guide, we’ll walk you through the steps of wiring a ceiling light with a switch.
We’ll also cover how to install a ceiling light box, fit a ceiling light fitting, and fix a ceiling light pull chain, providing a comprehensive overview of ceiling light installation and maintenance.
How To Wire A Ceiling Light With A Switch
Understanding the Basics
Before diving into the process of how to wire a ceiling light with a switch, let’s familiarize ourselves with the key components involved:
How To Wire A Ceiling Light With A Switch : Ceiling Light Fixture
This is the actual light fixture that will be installed on the ceiling.
It typically includes a metal base, wiring terminals, and a socket for the light bulb.
How To Wire A Ceiling Light With A Switch : Ceiling Light Box
The ceiling light box is a housing that provides support for the light fixture.
It’s essential for safety and proper installation, as it protects the wiring connections.
How To Wire A Ceiling Light With A Switch : Switch
The switch controls the flow of electricity to the light fixture.
It can be a single-pole switch for basic on/off functionality or a dimmer switch for adjustable brightness.
How To Wire A Ceiling Light With A Switch : Wiring
Electrical wiring consists of insulated conductors that carry electricity from the power source to the light fixture and switch.
Common types of wiring include Romex (non-metallic sheathed cable) and conduit (metal or plastic tubing).
Tools and Materials Needed
Gather the following tools and materials before starting the installation.Though you will not need all of them in solving all the problems mentioned.
Tools:
- Screwdriver (Phillips and flathead)
- Wire strippers
- Needle-nose pliers
- Voltage tester
- Drill (if necessary)
Materials:
- Ceiling light fixture
- Electrical wire (typically black, white, and green or bare copper)
- Electrical box
- Switch
- Wire connectors
How to Wire a Ceiling Light with a Switch
How To Wire Ceiling Lights With A Switch : Prepare the Wires
Strip the insulation from the ends of the electrical wires using wire strippers.
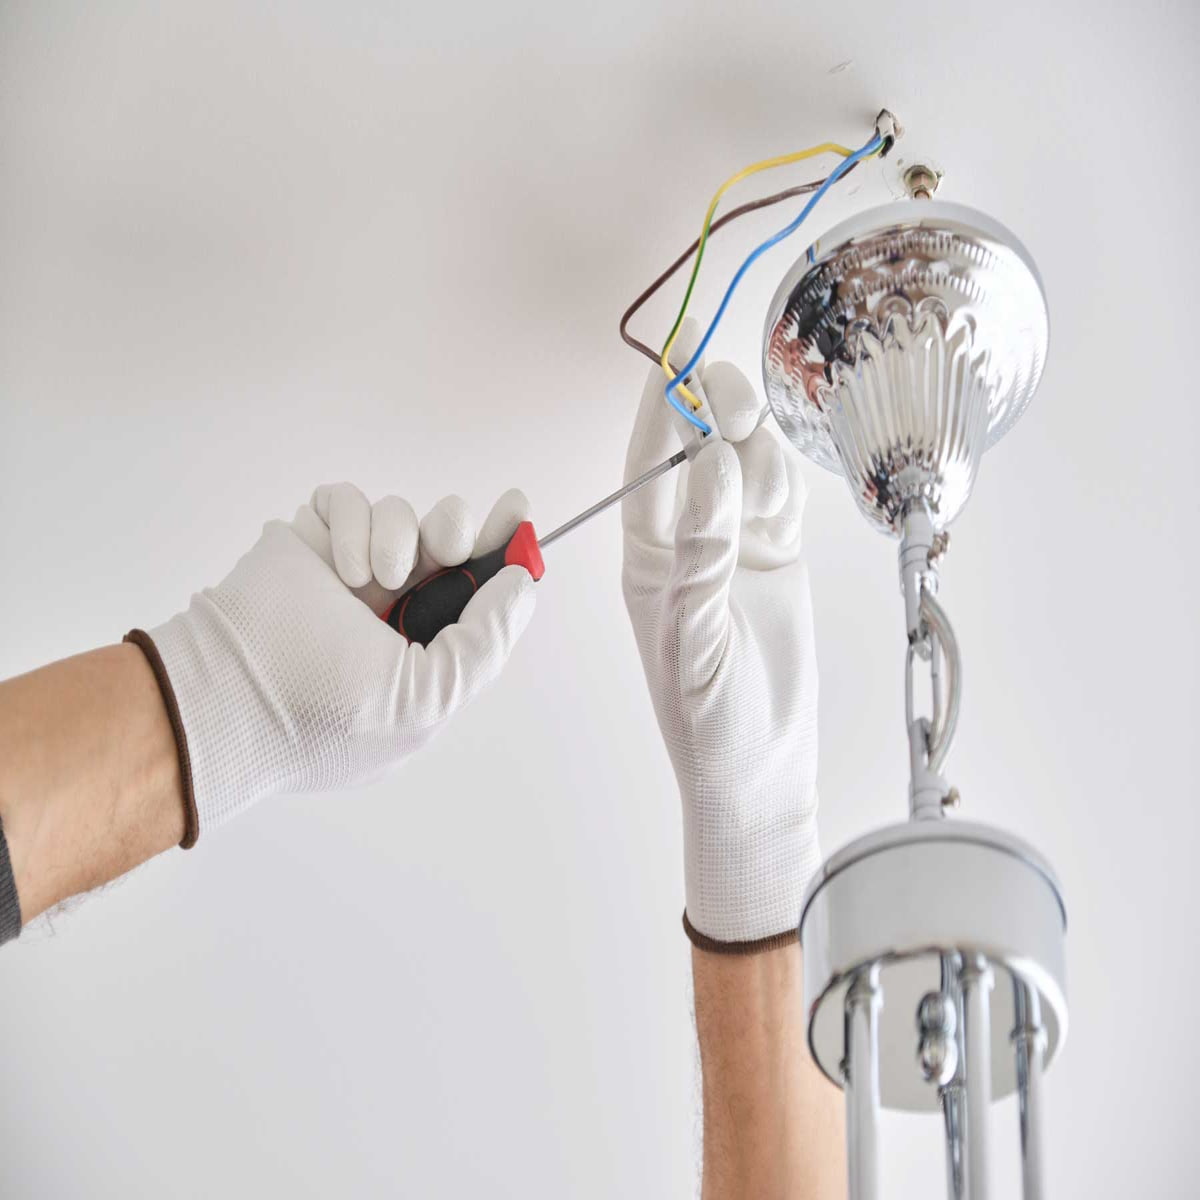
How To Wire A Ceiling Light With A Switch : Connect the Wires
Inside the ceiling light box, connect the black (hot) wire from the power source to the black wire of the light fixture using wire nuts. Repeat this step for the white (neutral) wires and the green or bare copper (ground) wires.
How To Wire A Ceiling Light With A Switch : Install the Switch
Mount the switch in a wall box and connect the black wire from the ceiling light box to one terminal of the switch. Connect another black wire, called the switch leg, from the other terminal of the switch to the black wire of the light fixture.
How To Wire A Ceiling Light With A Switch : Complete the Circuit
Connect the white wire from the ceiling light box to the white wire of the light fixture. Connect the green or bare copper wires together and attach them to the grounding terminal of the switch and the metal box (if metal).
How To Wire A Ceiling Light With A Switch : Secure Connections
Use electrical tape to secure the wire nuts and ensure all connections are tight and insulated.
How To Wire Ceiling Lights With A Switch : Test the Circuit
Turn on the power at the breaker box and test the light switch to verify proper wiring and functionality.
How to Install a Ceiling Light Box
Follow these steps to install a ceiling light box
- Turn off the Power: Always shut off the power to the circuit at the breaker box to prevent electrical shocks.
- Locate the Installation Site: Determine the ideal location for the ceiling light and mark the spot on the ceiling.
- Cut an Opening: Use a drywall saw to cut a hole in the ceiling based on the dimensions of the ceiling light box.
- Secure the Box: Insert the ceiling light box into the opening and secure it to the ceiling joists using screws or nails.
- Connect the Wires: If necessary, run electrical wires from the nearest power source to the ceiling light box, leaving enough slack for connections.
How to Fit a Ceiling Light Fitting
After wiring the ceiling light, follow these steps to fit the light fitting securely:
- Attach the Light Fixture: Position the light fixture over the ceiling light box and align the mounting screws with the holes in the box.
- Secure the Fixture: Use screws or bolts to secure the light fixture to the ceiling light box, ensuring it is stable and flush against the ceiling.
- Install the Bulb: Insert the appropriate light bulb into the socket of the light fixture and secure it according to the manufacturer’s instructions.
How to Fix a Ceiling Light Pull Chain
If your ceiling light has a pull chain for operation and it’s not working correctly, here’s how to fix it:
- Turn off the Power: As always, switch off the power to the circuit at the breaker box to work safely.
- Access the Fixture: Remove the light bulb and any covers or shades to access the pull chain mechanism.
- Inspect the Chain: Check if the pull chain is intact and properly connected to the internal switch mechanism. Replace the chain if it’s damaged or disconnected.
- Check the Switch: Test the pull chain switch for continuity using a multimeter. If the switch is faulty, replace it with a compatible replacement.
- Reassemble and Test: Once the pull chain is fixed or replaced, reassemble the fixture, insert the light bulb, and test the operation by pulling the chain.
How To Wire A Ceiling Light With A Switch : Final Thoughts
How to wire a ceiling light with a switch is a straightforward process when done correctly and safely.
By following the steps outlined in this guide, you can install or replace ceiling lights with confidence.
Remember to always prioritize safety, turn off the power before working on electrical components, and consult a professional if you’re unsure about any step.
With the right knowledge and tools, you can illuminate your space effectively and enjoy a well-lit environment.
ALSO READ
Types Of Roofs On Commercial Buildings You Wish You Knew
Types Of Rubber Roofs
How To Paint A High Ceiling On Stairs Easily and Safely


One Comment