Laminate flooring is a popular choice for many homeowners due to its durability, affordability, and easy installation but how do u take laminate flooring up? In this explanation, we’ll walk you through the step-by-step process of taking laminate flooring up effectively and efficiently.
Whether it’s to upgrade your flooring or address damage.
How To Take Laminate Flooring Up
Understanding Laminate Flooring
Before moving into the removal process, it’s essential to understand the structure of laminate flooring. Laminate floorings typically consists of four layers: a wear layer, a decorative layer, a core layer, and a backing layer.
The wear layer is the topmost layer that provides durability and protection against scratches and stains. The decorative layer gives the flooring its aesthetic appeal, mimicking the look of wood, tile, or stone.
The core layer is usually made of high-density fiberboard (HDF) or medium-density fiberboard (MDF) and provides stability and strength. The backing layer acts as a moisture barrier.
Tools and Materials Needed
To successfully remove laminate flooring, gather the following tools and materials:
- Utility Knife: Used to cut through the edges of the laminate floorings.
- Pry Bar: Helps lift and remove individual planks.
- Hammer: Used in conjunction with the pry bar for stubborn planks.
- Safety Gear: Gloves, goggles, and knee pads for protection.
- Trash Bags: For disposing of removed flooring.
- Floor Cleaner: To clean the subfloor after removal.
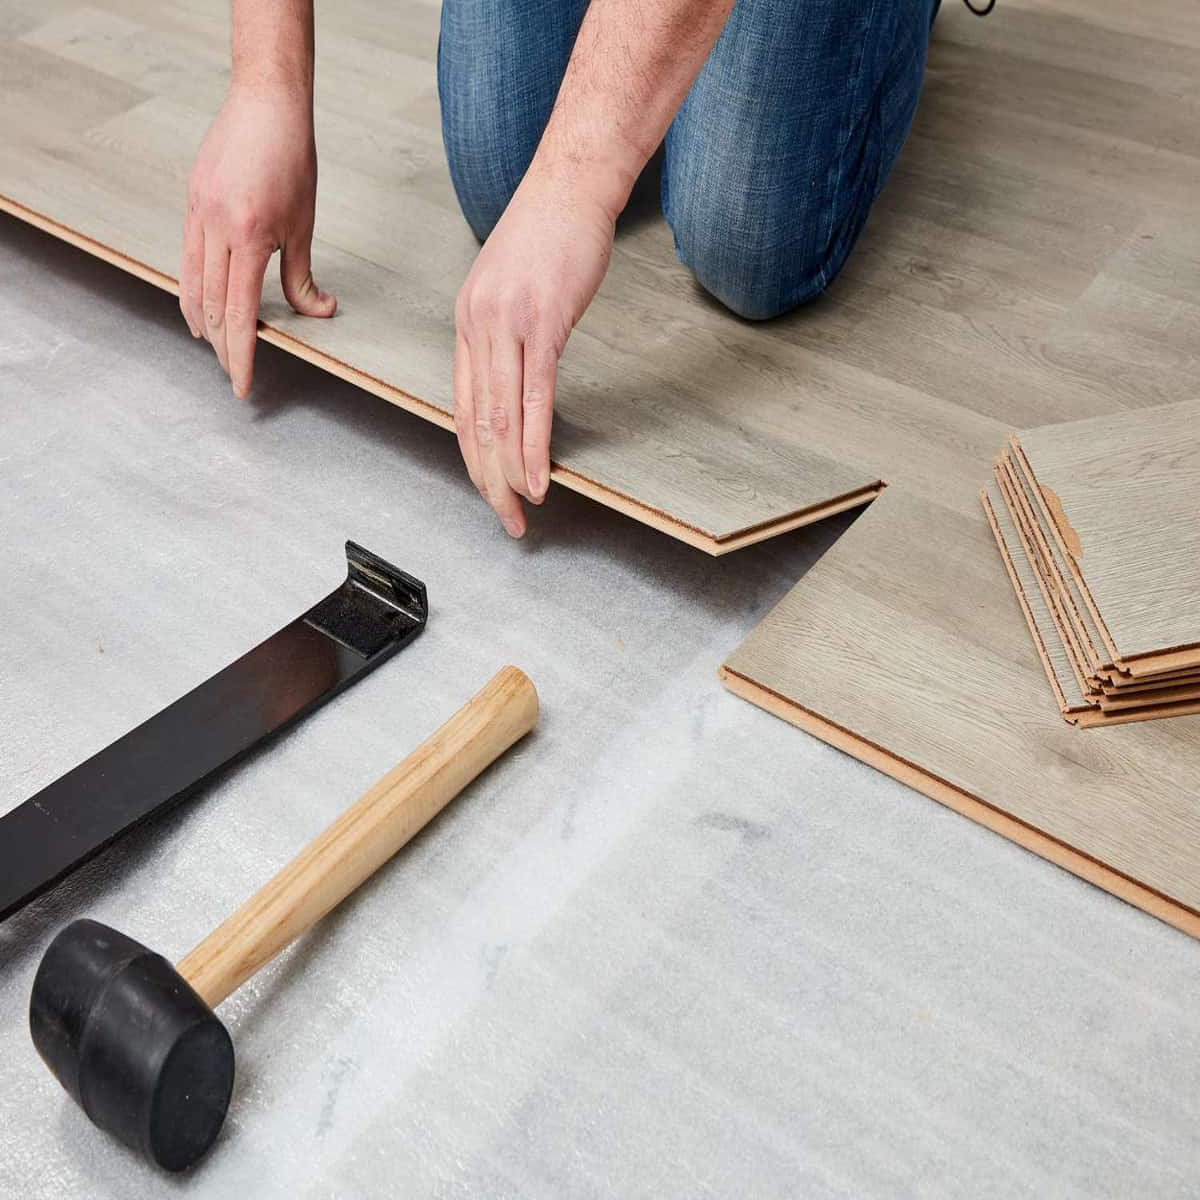
How To Take Laminate Flooring Up
Step-by-Step Guide
- Prepare the Area
Start by clearing the room of furniture and any obstacles that may hinder the removal process. This step ensures you have a clear workspace and prevents damage to furniture.
- Begin at the Edge
Locate the edge of the laminate floorings where you want to start. Use a utility knife to cut through the edge of the first plank, exposing the locking mechanism underneath.
- Remove Individual Planks
Insert the pry bar between the first plank and the adjacent one, gently lifting the plank to disengage it from the locking mechanism. Work your way across the room, removing one plank at a time.
- Address Stubborn Planks
For planks that are difficult to remove, use a hammer and pry bar to carefully pry them up. Be cautious not to damage the surrounding flooring or subfloor.
- Clean the Subfloor
Once all the laminate flooring is removed, thoroughly clean the subfloor to remove any adhesive residue or debris. Use a floor cleaner suitable for the subfloor material.
Tips for Success
- Work Carefully: Take your time to avoid damaging the subfloor or surrounding areas.
- Use Proper Tools: The right tools make the removal process easier and safer.
- Dispose of Waste Properly: Use trash bags to dispose of removed flooring and debris responsibly.
- Inspect Subfloor: Check the subfloor for any damage or issues that may need attention before installing new flooring.
Can you reuse laminate flooring?
As long as the damage doesn’t affect the flooring’s functionality or capacity to be reinstalled, laminate floorings that has been laid as a floating floor can typically be reused.
How To Take Laminate Flooring Up : Parting Words
Taking laminate flooring up can seem daunting, but with the right knowledge and tools, it can be a manageable task. By following the steps outlined in this guide and taking proper precautions, you can remove laminate flooring effectively and prepare the space for your next flooring project.
Remember to work carefully and consult professionals if needed for complex removal situations.
ALSO READ
What Does The Fan In The Bathroom Do? You’ll Be Shocked
How To Wash A Memory Foam Bath Mat Quickly and Efficiently
What Classifies As A Bedroom You Wish You Knew Before