A leaking delta kitchen faucet can be a nuisance, causing water wastage and potential damage to your kitchen hence you will need to fix the delta kitchen faucet leak urgently.
Among the various faucet brands, Delta is renowned for its quality and durability.
In this article, we’ll discuss the steps of fixing a Delta kitchen faucet leak.
Whether you’re a DIY enthusiast or a homeowner looking to save on plumbing costs, this article will equip you with the knowledge and skills to tackle this common issue effectively.
How To Fix Delta Kitchen Faucet Leak
How To Fix Delta Kitchen Faucet Leak : Delta Kitchen Faucet Explained
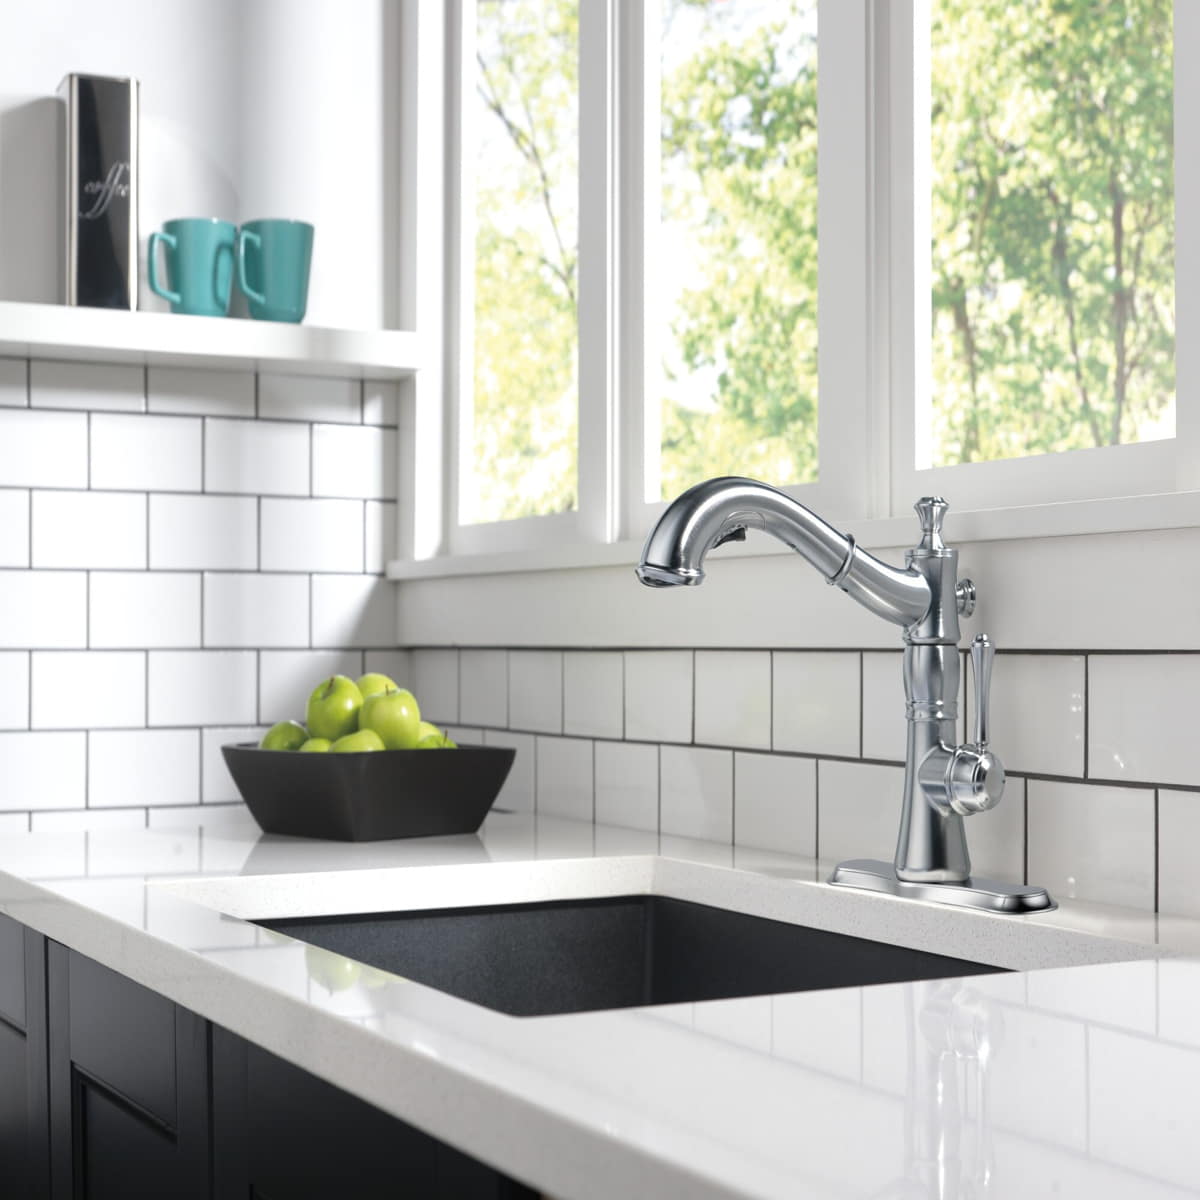
Before jumping into the fixing process of delta kitchen faucet leak, it’s crucial to understand the anatomy of your Delta kitchen faucet.
Typically, Delta faucets consist of a handle, spout, cartridge, and various seals and gaskets that ensure a tight seal and smooth operation.
Identifying the specific model of your Delta faucet can also aid in obtaining the correct replacement parts if needed.
How To Fix Delta Kitchen Faucet Leak : Diagnosing the Leak
The first step in fixing a Delta kitchen faucet leak is pinpointing the source of the leak.
Common areas where leaks occur include the spout, base, and handle.
Observing the type of leak (dripping, continuous flow, or spraying) and its location will help narrow down the problem and determine the necessary repairs.
Fixing Delta Kitchen Faucet Leak : Tools and Materials Needed
Before proceeding with the repair, gather the following tools and materials:
- Adjustable wrench
- Screwdriver (Phillips and flathead)
- Replacement cartridge (if necessary)
- Plumber’s tape
- Clean cloth or towel
- Bucket or container (for water drainage)
How To Fix Delta Kitchen Faucet Leak : Repair Process Steps
-
Shut Off Water Supply
Locate the shut-off valves under the sink and turn them clockwise to shut off the water supply to the faucet.
Turn on the faucet to release any remaining water in the lines and relieve pressure.
-
Remove Faucet Handle
Use a screwdriver to remove the handle’s screw located either on top or under a decorative cap.
Once the screw is removed, gently lift off the handle to expose the cartridge and other internal components.
-
Inspect and Clean Components
Inspect the cartridge, seals, and O-rings for any signs of wear, corrosion, or damage.
Clean these components thoroughly using a clean cloth and vinegar solution to remove any buildup or debris that may be causing the leak.
-
Replace Cartridge (if Necessary)
If the cartridge is damaged or worn out, it’s recommended to replace it with a new one.
Refer to your Delta faucet’s model number to ensure you purchase the correct replacement cartridge.
Apply plumber’s tape to the new cartridge before installing it to ensure a secure and leak-free fit.
-
Reassemble and Test
Carefully reassemble the faucet components in the reverse order of disassembly.
Tighten all screws and connections securely using the appropriate tools.
Turn on the water supply and test the faucet for leaks and proper functionality.
How To Fix Delta Kitchen Faucet Leak : Wrapping It Up
By following these detailed steps, you can effectively fix a Delta kitchen faucet leak and restore optimal functionality to your sink.
Remember to exercise caution and patience during the repair process, and don’t hesitate to seek professional assistance if needed.
With the right tools and know-how, you can tackle common plumbing issues like a pro and keep your kitchen running smoothly for years to come.
Remember, a well-maintained faucet not only saves water but also enhances the overall efficiency and aesthetics of your kitchen.
Happy repairing!


One Comment