How to remove a shower handle from an American Standard faucet may seem daunting at first, but with the right tools and knowledge, it can be a straightforward process.
Whether you’re replacing the handle, fixing a leak, or performing maintenance, understanding how to remove the shower handle correctly is essential.
In this guide, we’ll walk you through the steps to remove a shower handle from an American Standard faucet, ensuring a successful and hassle-free experience.
How To Remove Shower Handle American Standard
Understanding Your American Standard Shower Handle
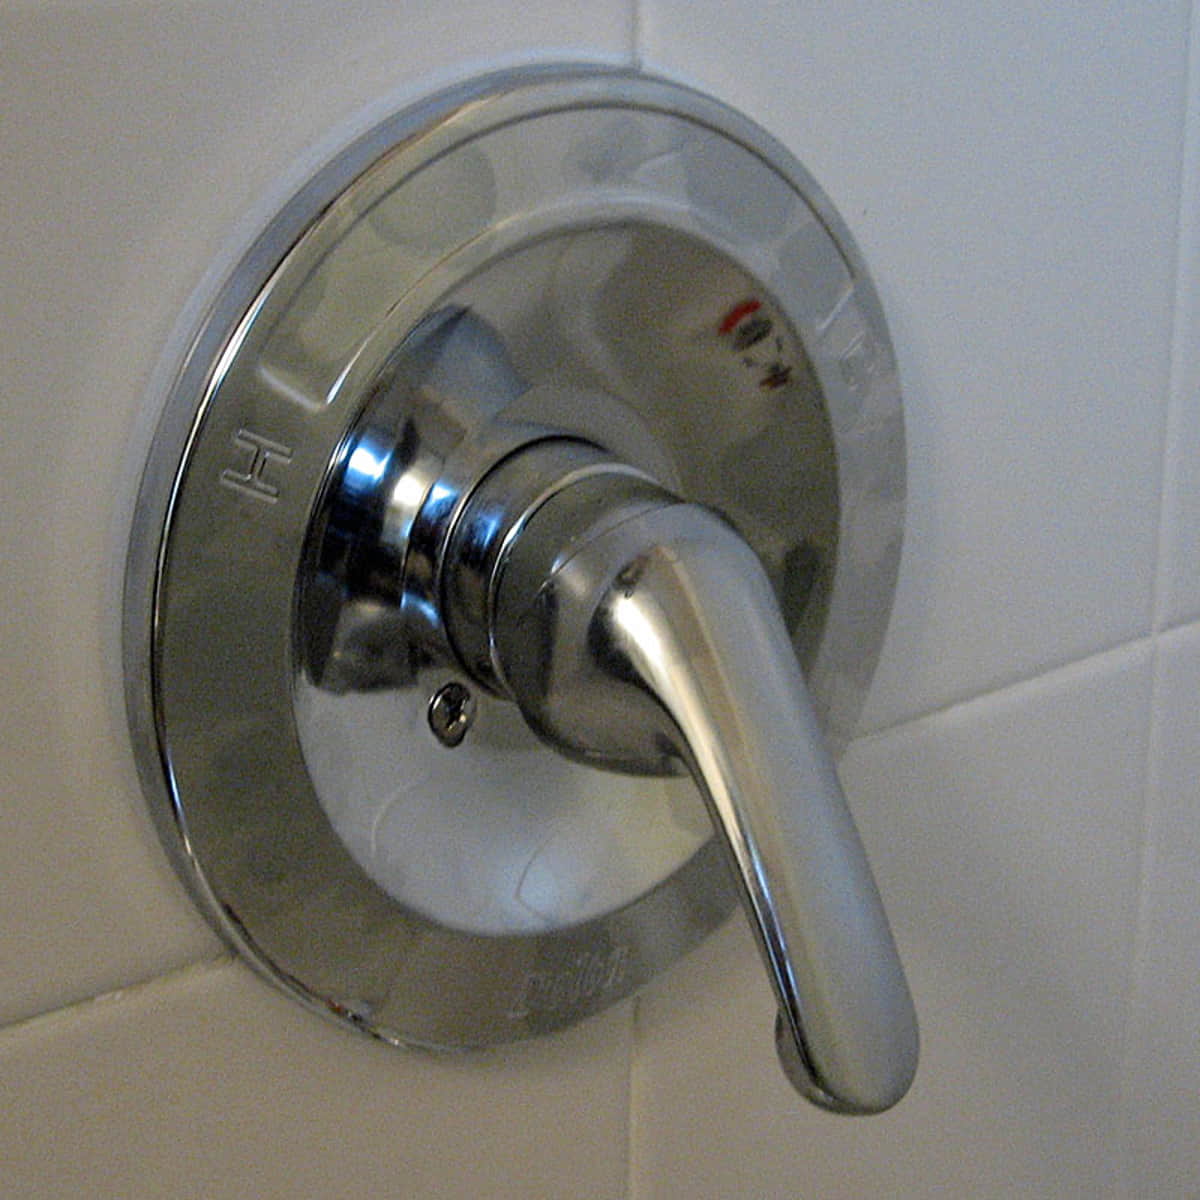
Before diving into the removal process, it’s crucial to familiarize yourself with the type of American Standard shower handle you have.
American Standard produces various models, including single-handle and double-handle faucets, each with its own removal method.
Identify your specific model to proceed effectively.
How To Remove Shower Handle American Standard : Gathering the Necessary Tools and Supplies
To remove the shower handle, you’ll need a few tools and supplies readily available:
Adjustable wrench or pliers
Screwdriver (Phillips or flat-head, depending on your faucet)
Penetrating oil or lubricant (optional but helpful for stubborn handles)
Towel or rag (to protect the faucet and catch any water)
Ensure you have these items on hand before beginning the removal process.
Steps to Remove a Single-Handle Shower Handle
If you have a single-handle American Standard shower faucet, follow these steps to remove the handle:
Turn off the water supply to the shower.
Locate the set screw on the handle. This is typically located underneath a decorative cap or cover.
Use a screwdriver to remove the set screw. Keep the screw in a safe place for reassembly later.
Gently wiggle and pull the handle away from the faucet cartridge. If it’s stuck, apply penetrating oil and wait a few minutes before trying again.
Once the handle is removed, inspect the cartridge for any damage or wear.
Steps to Remove a Double-Handle Shower Handle
For double-handle American Standard shower faucets, the removal process is slightly different:
Turn off the water supply to the shower.
Remove the handles’ decorative caps or covers to access the screws beneath.
Use a screwdriver to unscrew and remove the handles. Keep track of any screws or parts removed.
After removing the handles, locate and remove the escutcheon plate covering the faucet valve.
Once the escutcheon plate is removed, you’ll have access to the faucet valves and cartridges. Follow manufacturer guidelines to remove and replace these components if needed.
How To Remove Shower Handle American Standard : Reassembling the Shower Handle
After successfully removing the shower handle from your American Standard faucet, it’s time to reassemble everything. Follow these general steps:
Inspect all components for damage or wear and replace as necessary.
Apply plumber’s tape to the threads of any connections to ensure a watertight seal.
Reinstall the faucet handle(s), escutcheon plate, and any decorative caps or covers.
Turn on the water supply and test the faucet for leaks or proper functionality.
Make any final adjustments or tightenings to ensure everything is secure.
How To Remove Shower Handle American Standard : Conclusion
Removing a shower handle from an American Standard faucet doesn’t have to be complicated.
By understanding your specific faucet model, gathering the right tools, and following the proper steps, you can successfully remove and reassemble the handle with confidence.
Remember to turn off the water supply before beginning and take your time to avoid damaging any components.
With this guide, you’re ready to tackle your shower handle removal project effectively.





One Comment