How to repair cracks in drywall joints doesn’t have to be frustrating as I will guide you below.
Drywall is a commonly used material in home construction due to its affordability and ease of installation.
However, over time, cracks can develop in drywall joints, compromising the aesthetic appeal and structural integrity of your walls.
In this piece, we will examine the process of repairing cracks in drywall joints effectively.
How To Repair Cracks In Drywall Joints
Understanding Drywall Cracks
Before I expound to you how to repair cracks in drywall joints, it’s crucial to understand the types of cracks that can occur in drywall joints.
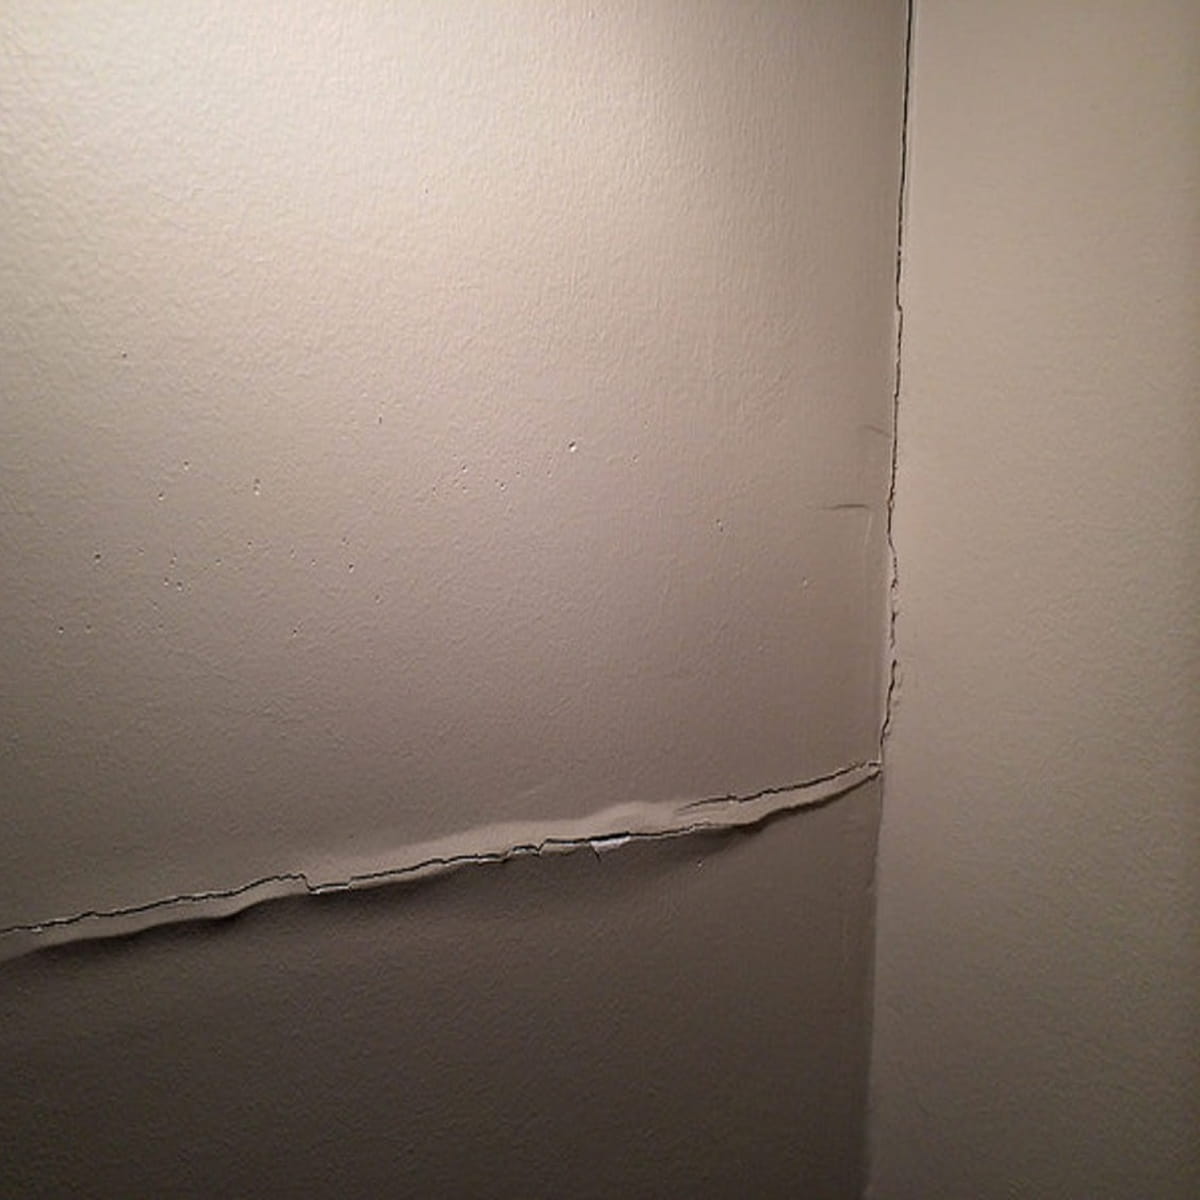
These cracks can be categorized into two main types: hairline cracks and larger, more visible cracks.
Hairline cracks are typically superficial and can be addressed with simple repair techniques, while larger cracks may require more extensive interventions.
Tools and Materials You’ll Need
Gathering the necessary tools and materials is the first step in any successful drywall repair project. Here’s a list of items you’ll need:
- Putty knife
- Drywall joint compound
- Sandpaper (medium grit)
- Mesh joint tape
- Drywall screws
- Drill/driver
- Drywall patching compound
- Paint and primer
How To Repair Cracks In Drywall Joints
How To Repair Cracks In Drywall Joints : Repairing Hairline Cracks
Hairline cracks are often caused by minor shifts in the foundation or settling of the building.
Follow these steps to repair hairline cracks in drywall joints:
- Clean the Area: Use a putty knife to remove any loose debris or old joint compound from the crack.
- Apply Joint Compound: Fill the crack with a thin layer of drywall joint compound using a putty knife.
- Smooth and Blend: After the compound dries, sand the area lightly to blend it with the surrounding wall surface.
How To Repair Cracks In Drywall Joints : Patching Larger Cracks
How To Mud And Tape Drywall With Mesh Tape
For larger cracks in drywall joints, a more comprehensive approach is necessary:
- Secure the Area: Use drywall screws to secure the cracked area and prevent further movement.
- Apply Mesh Joint Tape: Place mesh joint tape over the crack to provide additional reinforcement.
- Apply Joint Compound(mud): Spread a layer of joint compound(mud) over the mesh tape, feathering the edges for a smooth finish.
- Sand and Finish: Once the compound dries, sand the area to a smooth finish and apply paint and primer to match the surrounding wall.
How To Repair Cracks In Drywall Joints : Preventing Future Drywall Cracks
To minimize the likelihood of cracks reappearing in your drywall joints, consider these preventive measures:
- Address underlying structural issues promptly.
- Use flexible joint compound for areas prone to movement.
- Ensure proper insulation and humidity control to prevent moisture-related damage.
How To Apply Drywall Mud And Tape
To apply drywall mud and tape, start by cutting a piece of mesh tape slightly longer than the joint you’re working on.
Press the tape firmly onto the joint, smoothing out any air bubbles or wrinkles with a drywall knife.
Next, apply a thin layer of joint compound (mud) over the tape, feathering the edges to blend it with the surrounding drywall.
Allow the mud to dry completely before sanding the joints with fine-grit sandpaper or a sanding sponge to achieve a smooth finish.
Wipe away any dust, and your drywall joints are ready for painting or further finishing.
How To Repair Cracks In Drywall Joints – Final Thoughts
Repairing cracks in drywall joints is a manageable task with the right tools, materials, and techniques.
Here you have known how to repair hairline cracks and also how to mud and tape drywall with mesh tape.
By following the steps outlined in this guide, you can restore the integrity and appearance of your walls effectively.
Remember to address any underlying issues and implement preventive measures to maintain a durable and visually appealing drywall surface.





One Comment